Have you seen this super sweet video that chronicles an entire relationship on gum wrappers?! I’m seriously swooning over how sentimental and beautiful it is!
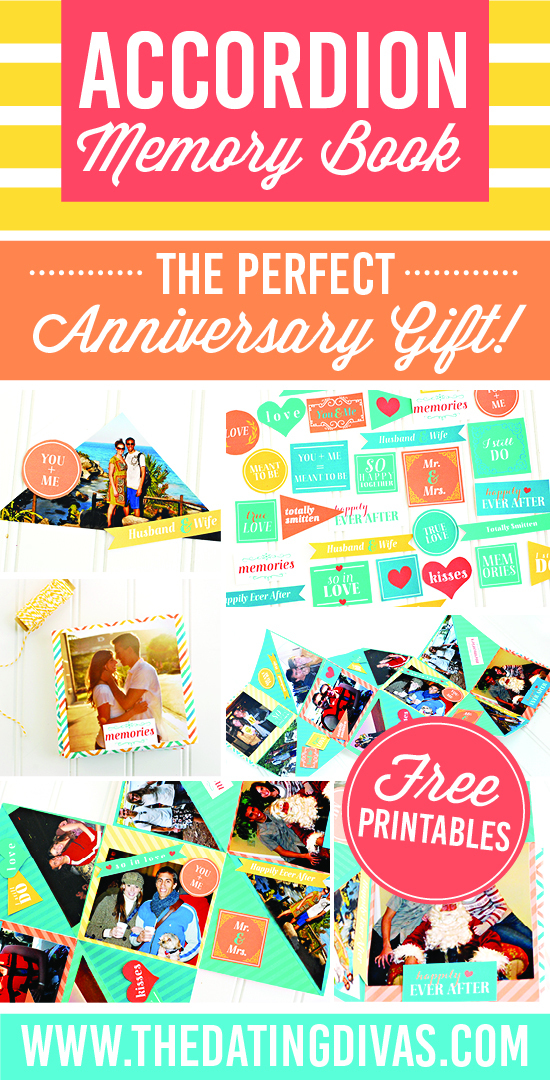
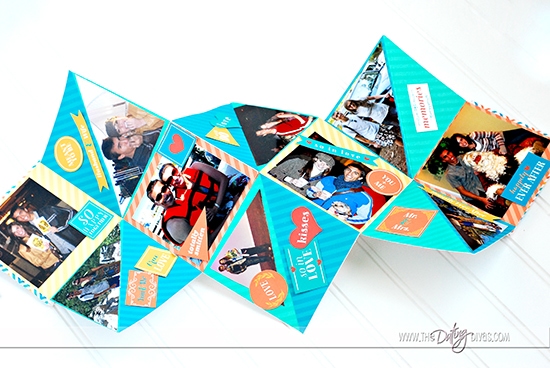
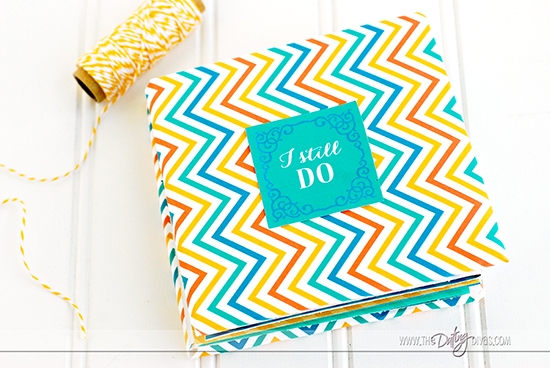
I am always looking for a fun way to chronicle all the memories that I make with my spouse! This year for an anniversary gift, I created a super fun accordion-style memory book that is filled with all sorts of nooks and crannies to place pictures, loves notes and more! Today I will share with you how to make your own Accordion Memory Book in just 3 easy steps – it’s even cuter than gum wrappers!
Not only is this Accordion Memory Book super fun to look at it – it is super fun to make! PLUS with our designer Crystal’s help making your own memory book is super easy and decorating is a breeze! Just 3 Steps: STEP 1: FOLD
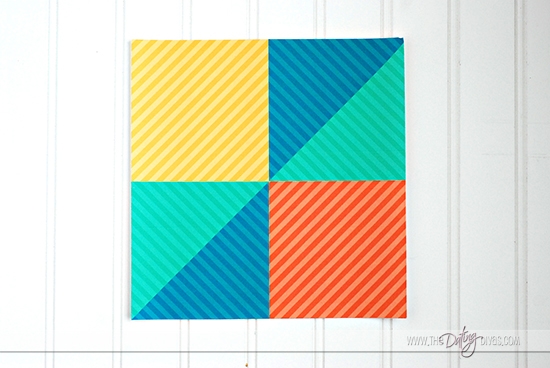
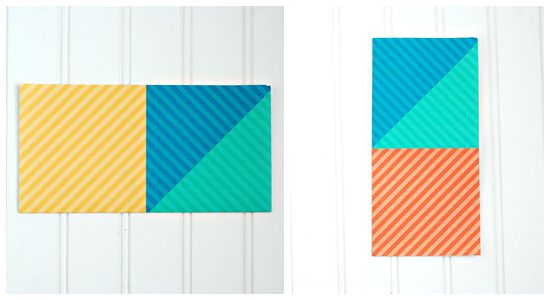
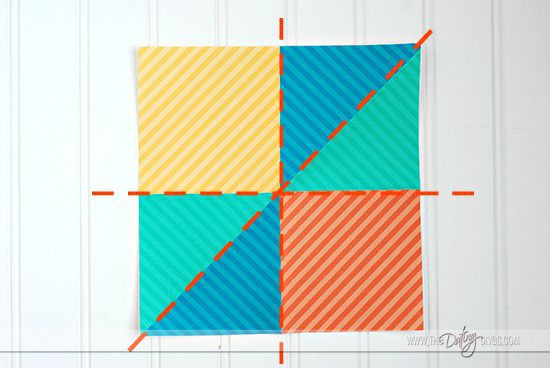
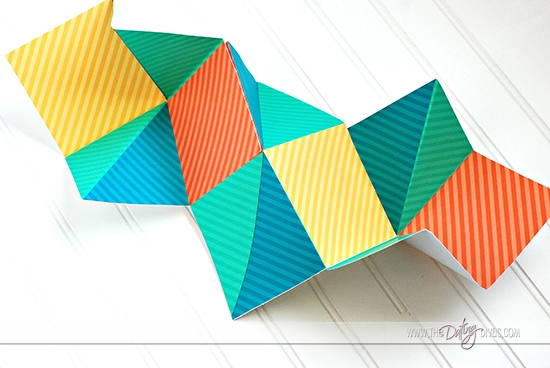
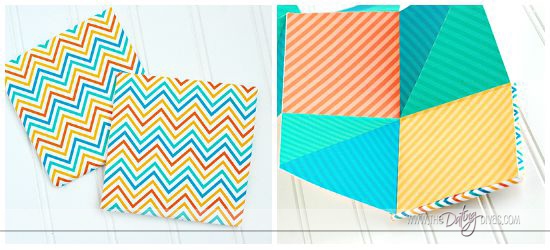
Our printable design makes it easy to make all the correct folds for this accordion memory book! The colored squares show exactly where you need to fold! First, fold your square in 1/2, open it up and then fold it in half again the other way.
Next, fold along the diagonal line – from corner to corner.
When you open up your paper you should now have folds that make a plus sign and a diagonal fold through the center. You can see how the printable design colors visually show you where to fold – makes it easy right? STEP 2: ATTACH
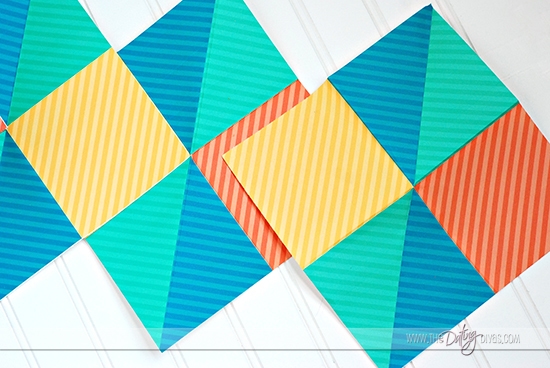
Take your newly folded papers and lay one of the squares on top of a square from another paper. Use adhesive to attach the two squares together.
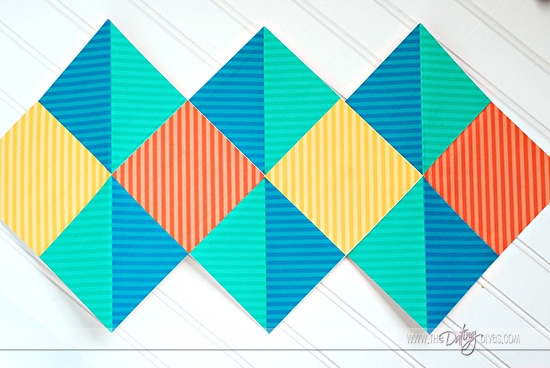
You can use this same method to connect as many papers as you want. For my book I connected 3 papers and it provided plenty of spaces for adding pictures.
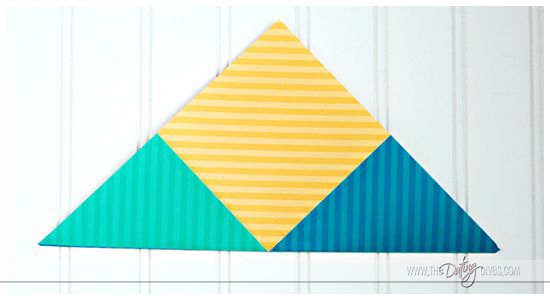
Your last and final step to make the book fold together is tricky to explain but luckily I found this easy-to-follow video tutorial from Crafty Nest that shows you visually how to fold the whole book together. [youtube]https://youtu.be/__9_KZi_tpE[/youtube] STEP 3: DECORATE
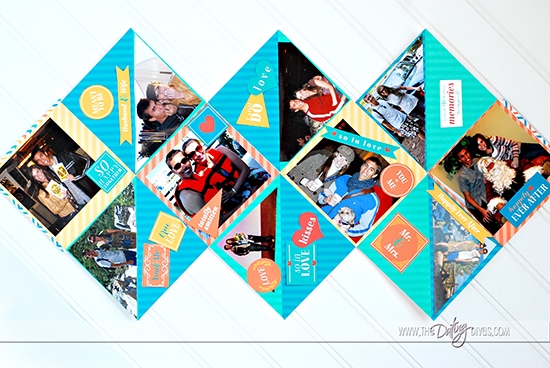
Now it is time to decorate your book with all of your special memories! You can cover all of the unique folds with pictures, quotes, love notes and more!
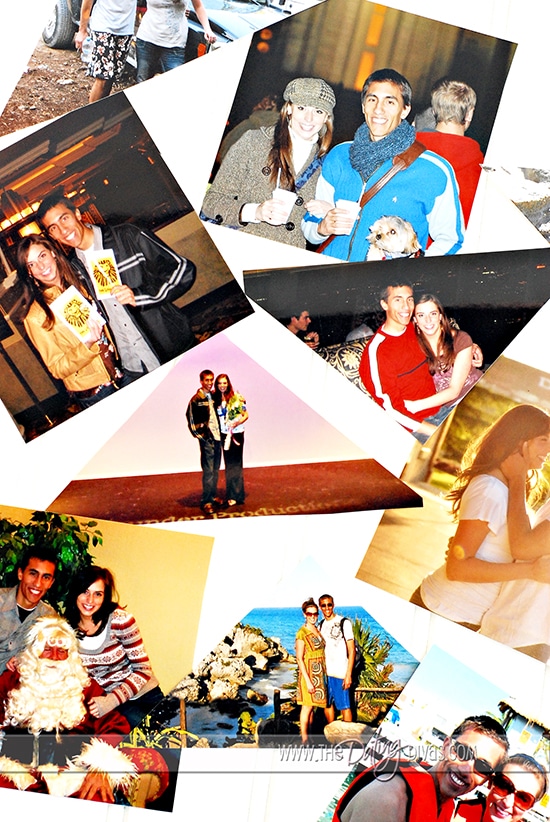
Start by cutting your pictures into various square and triangle shapes to fit inside the folds of your book. If you’re looking for an excellent paper trimmer to help cut your pictures into the perfect triangle shape we love this one!
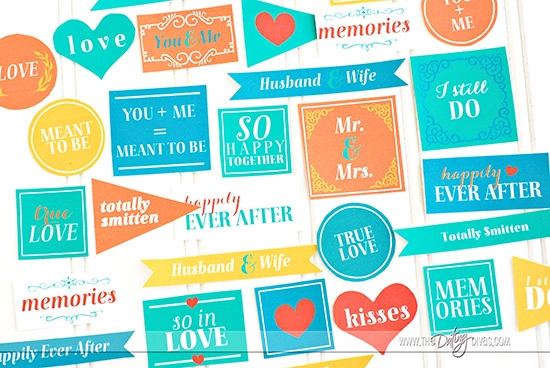
Then select your favorite printable design elements that fit with your vision for your book!
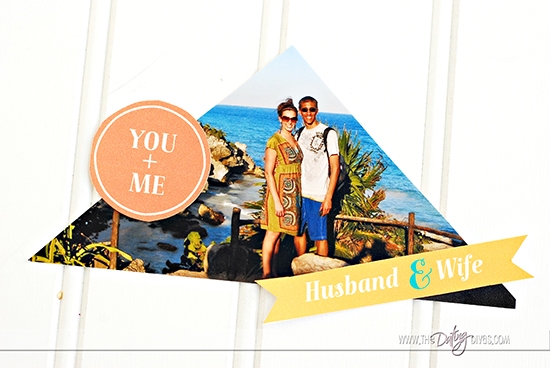
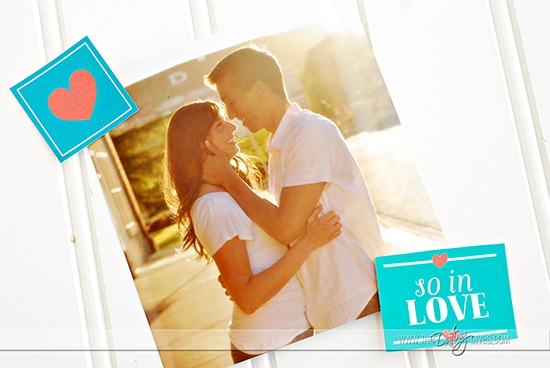
You can then mix and match which pictures and embellishments you want to pair together!
With so many adorable embellishments – there are so many possibilities!
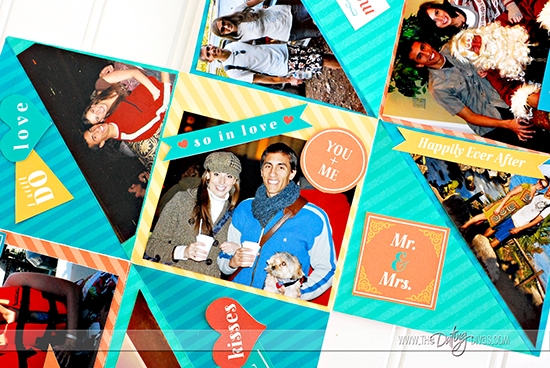
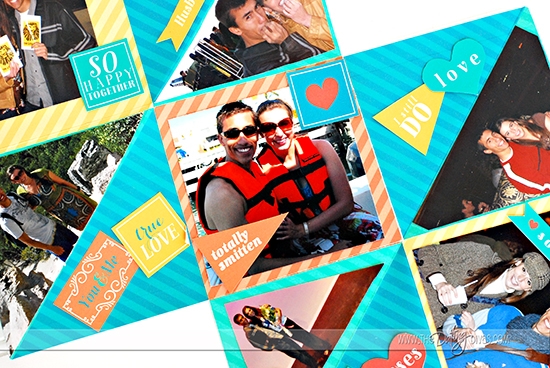
Finally, use adhesive to place your pictures and embellishments throughout the folds of your accordion memory book.
Don’t worry too much about all of the pictures and quotes facing the same direction. Part of the fun of this book is all the unique folds and directions! There isn’t a “right” or a “wrong” way!
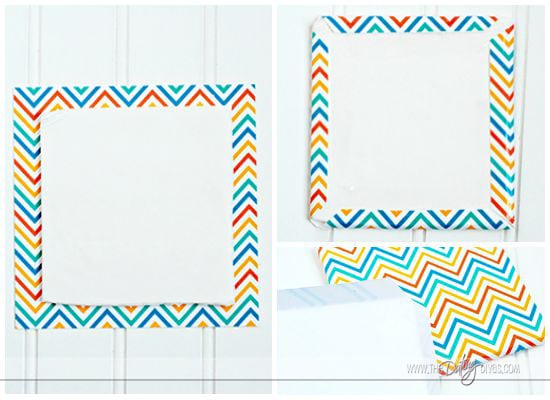
When you open the book – it should explode with pictures, memories and more! Each fold has a special story or memory – fun right? COVER If you REALLY want to go all out you can even create a cover for your book. Start by cutting a 4.5 x 4.5 inch square out of some sort of hard cover surface. For my book I used some white foam board but you could use cardboard from a cereal box or even real book binder’s board. Next, place the cover design face down and fold the edges up and over your square cover. Tape the sides of the paper down to the cover (if doesn’t have to look pretty – it will be covered up soon!)
Finally use adhesive to attach your accordion paper folds to the inside of your cover! Do this for both ends and that is it!
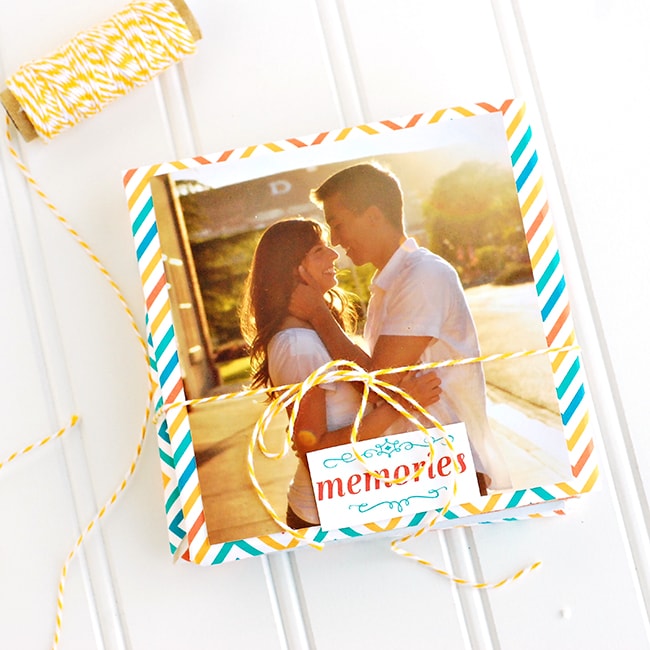
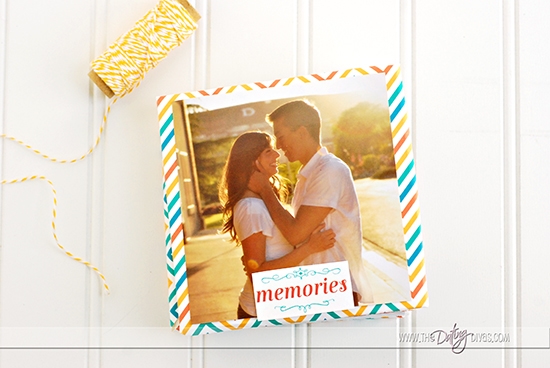
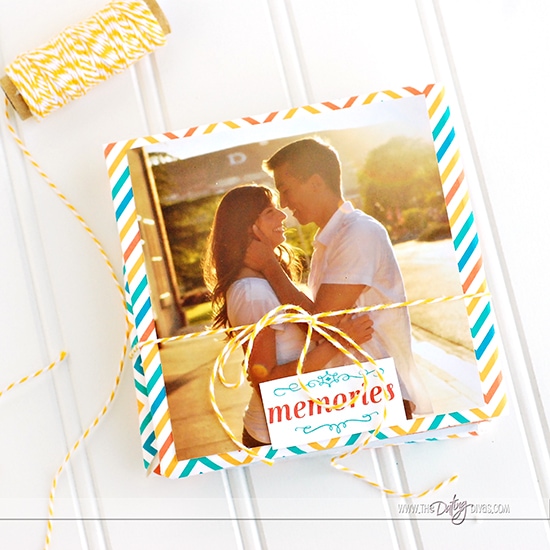
To decorate the front cover I added my favorite photo and an embellishment that said “Memories” – perfect for this anniversary gift!
For the backside I kept it simple and just added a cute embellishment – easy!
And there you have it! Your very own Accordion Memory Book – the perfect gift for so many occasions! You can tie it together with some cute baker’s twine and you have one FABULOUS gift! To get your free printables and make your own accordion memory book – first stop by Crystal’s shop A Well Feathered Nest and let her know you are grateful for her sharing this beautiful design with you! Then, download your Printables here:
