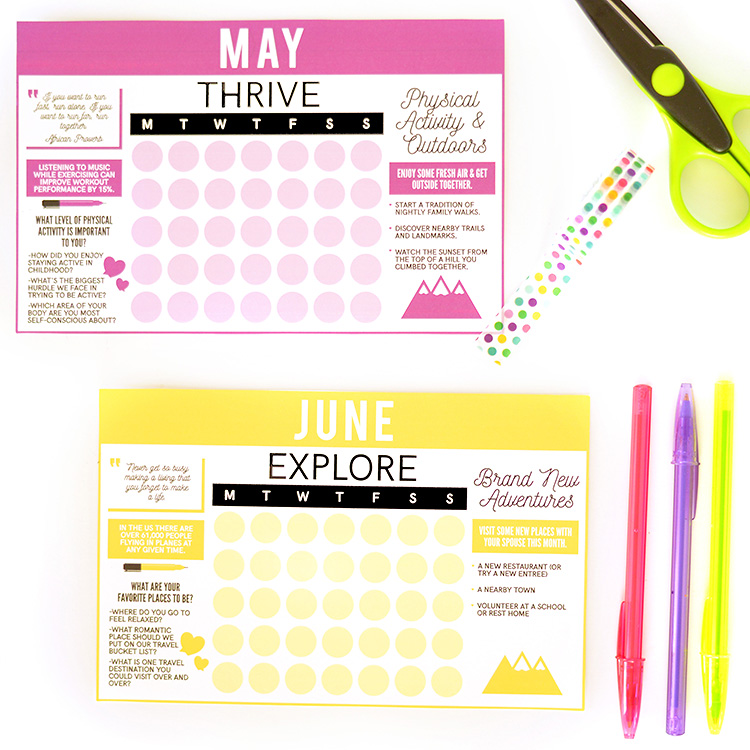
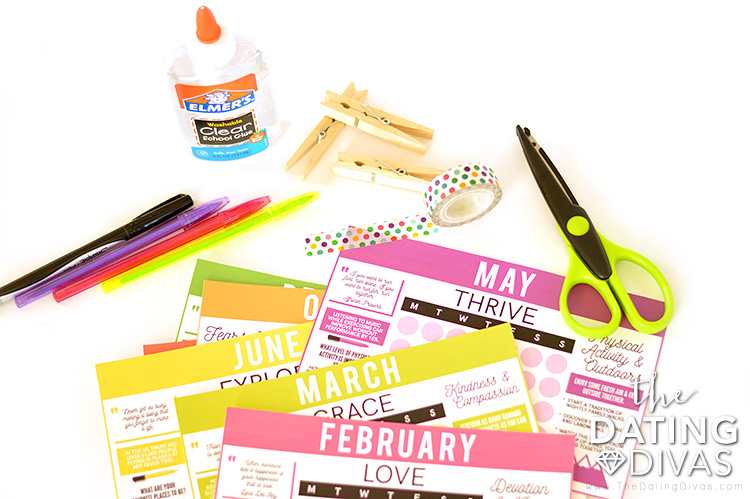
Disclaimer: This post contains affiliate links. To learn more about ’em, click here. We wanted something simple, functional and yet still absolutely beautiful, so we teamed up with Carisa from Messes to Memories and she created these perfect calendar prints.
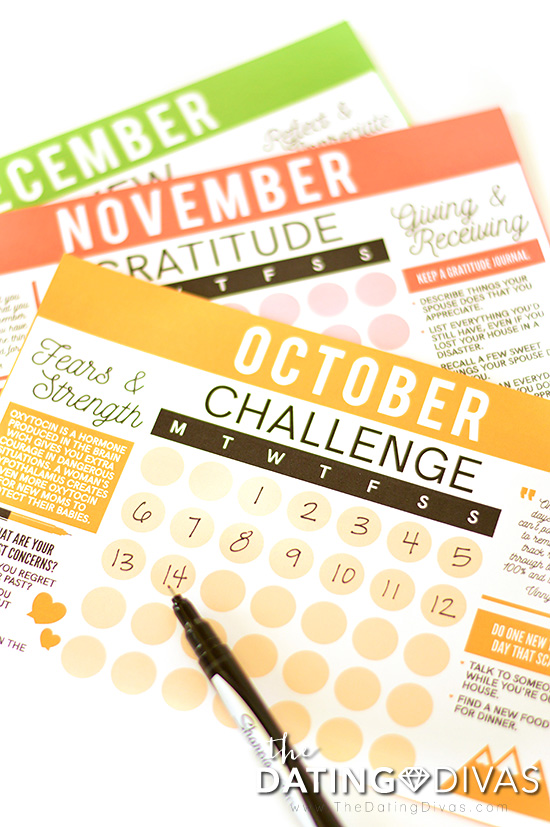
I love everything about this calendar, but one of my favorite ideas – and one that’s the most practical – is that it can be reused every single year! The days aren’t numbered, so you can just fill them in to match each year, making it reusable—forever!
Monthly Love Calendar
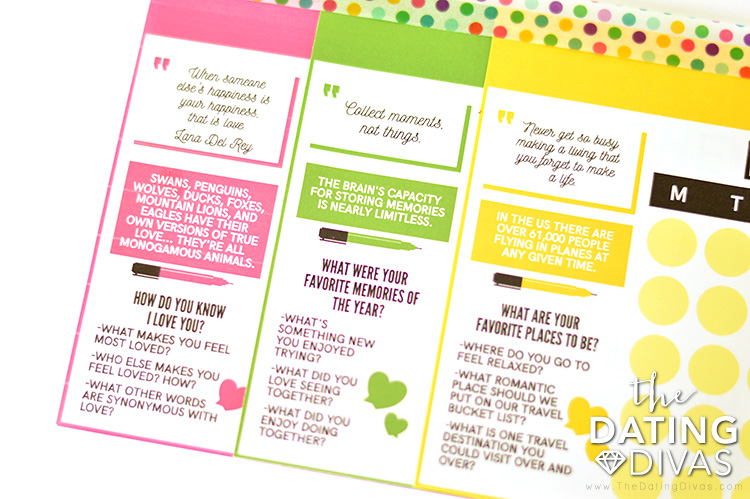
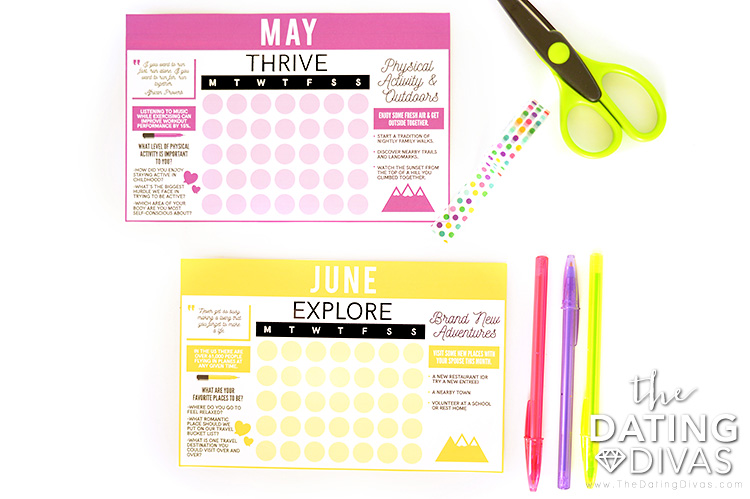
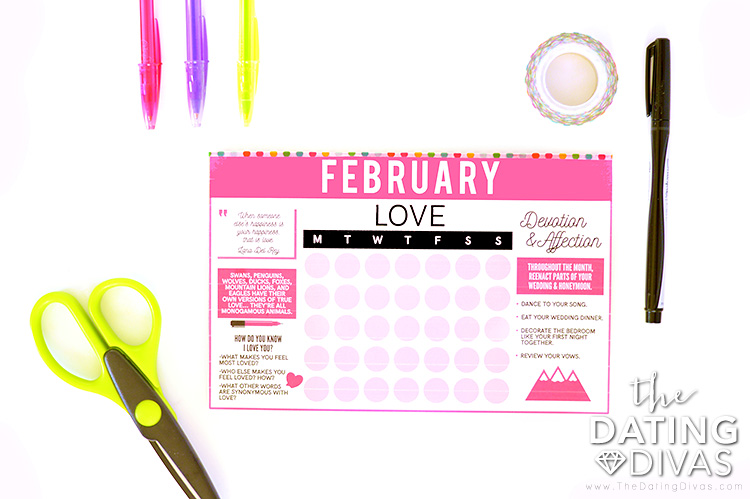
Each month has a ‘theme’ and is loaded with fun ideas to strengthen your relationship. You’ll find an inspirational quote to motivate you and remind you of the month’s topical theme. Each month also has conversation starters to use on date night, around the dinner table, or whenever you find a few minutes to chat. Since your personalities and situations change from year to year, the questions will work over and over again. Chances are, you’ll have new thoughts, feelings, and ideas on the topics when another year has elapsed. See?! Reusable calendar!!
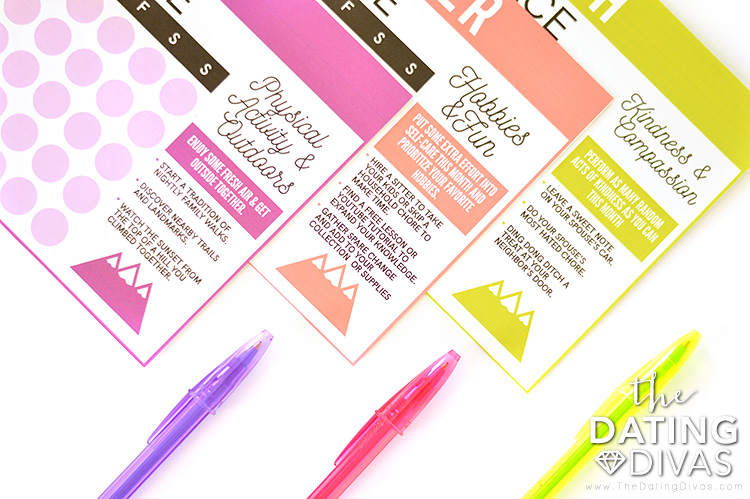
To help you continually do great things for your spouse, we’ve included suggestions for love challenges that match the month’s theme as well. They’re quick and easy but remember, it’s the little things that mean the most!
Making your calendar into the perfect, DIY desk calendar is an easy 15-minute craft (not including dry-time for the glue, of course). Just grab a few materials you’ve probably got on hand. You’ll need cardstock, a paper cutter (scissors work, you’ll just need a steady hand), school glue, clothespins, and some cute tape (washi tape works perfectly but just about any tape will do the job).
How to Make Your Monthly Calendar
Start by printing out the free calendar templates on cardstock and cutting out each month. You really need to use thick paper to make this work right because twelve sheets of regular paper are really hard to glue together! The paper cutter will give you clean, straight lines so it’s definitely quicker and easier but it’s still doable and easy enough with good, old-fashioned scissors. Write in the dates for each month using a permanent pen or marker that won’t bleed.
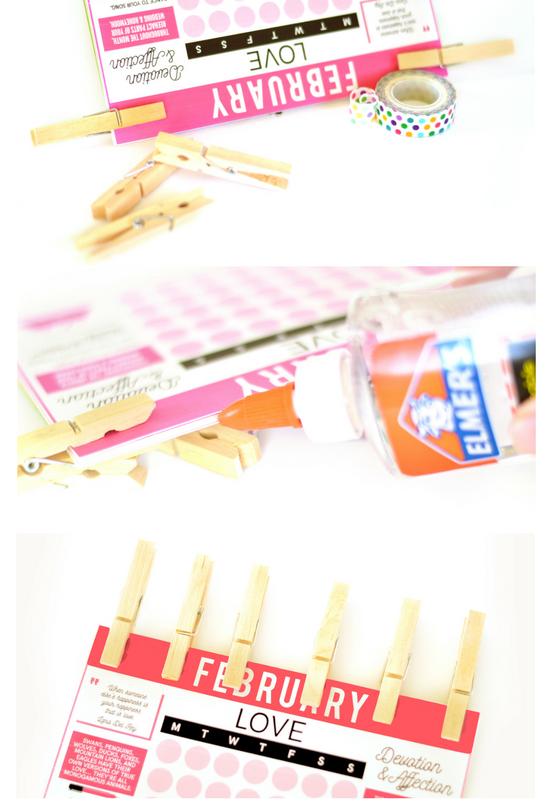
Stack the months in order (and don’t leave out January—oops!). Tap them, top-side down, on a table to get the tops perfectly even and then use two clothespins to hold it all together. Run a thin line of glue along the top and then use your finger to smooth it out. Add a few more clothespins near the top to hold it together while it dries.
Cut a length of tape and add it to the top. Start by placing the tape on the front of the first month and then wrap it up, over the glued top and around to the back. The end result? A perfectly practical, perfectly pretty DIY desk calendar to help you stay on track in a sensibly simple way. Plus, you can tear off each month and throw it away OR you can get them laminated and simply wipe off the numbers to reuse that month next year.
